Inside Burlington's Edmund's Elementary School Art Room, Burlington City Art's Summer programming, as well as formerly Richmond Elementary School's Art Room and Flynn Elementary's Project Explore Program.
One of the perks of living and teaching in Vermont is that I live near lots of greenspace and mountains. And with mountains come snowboarders, who stock up on all of their cool gear locally from our Burton store nearby.
Burton's flagship store in Burlington
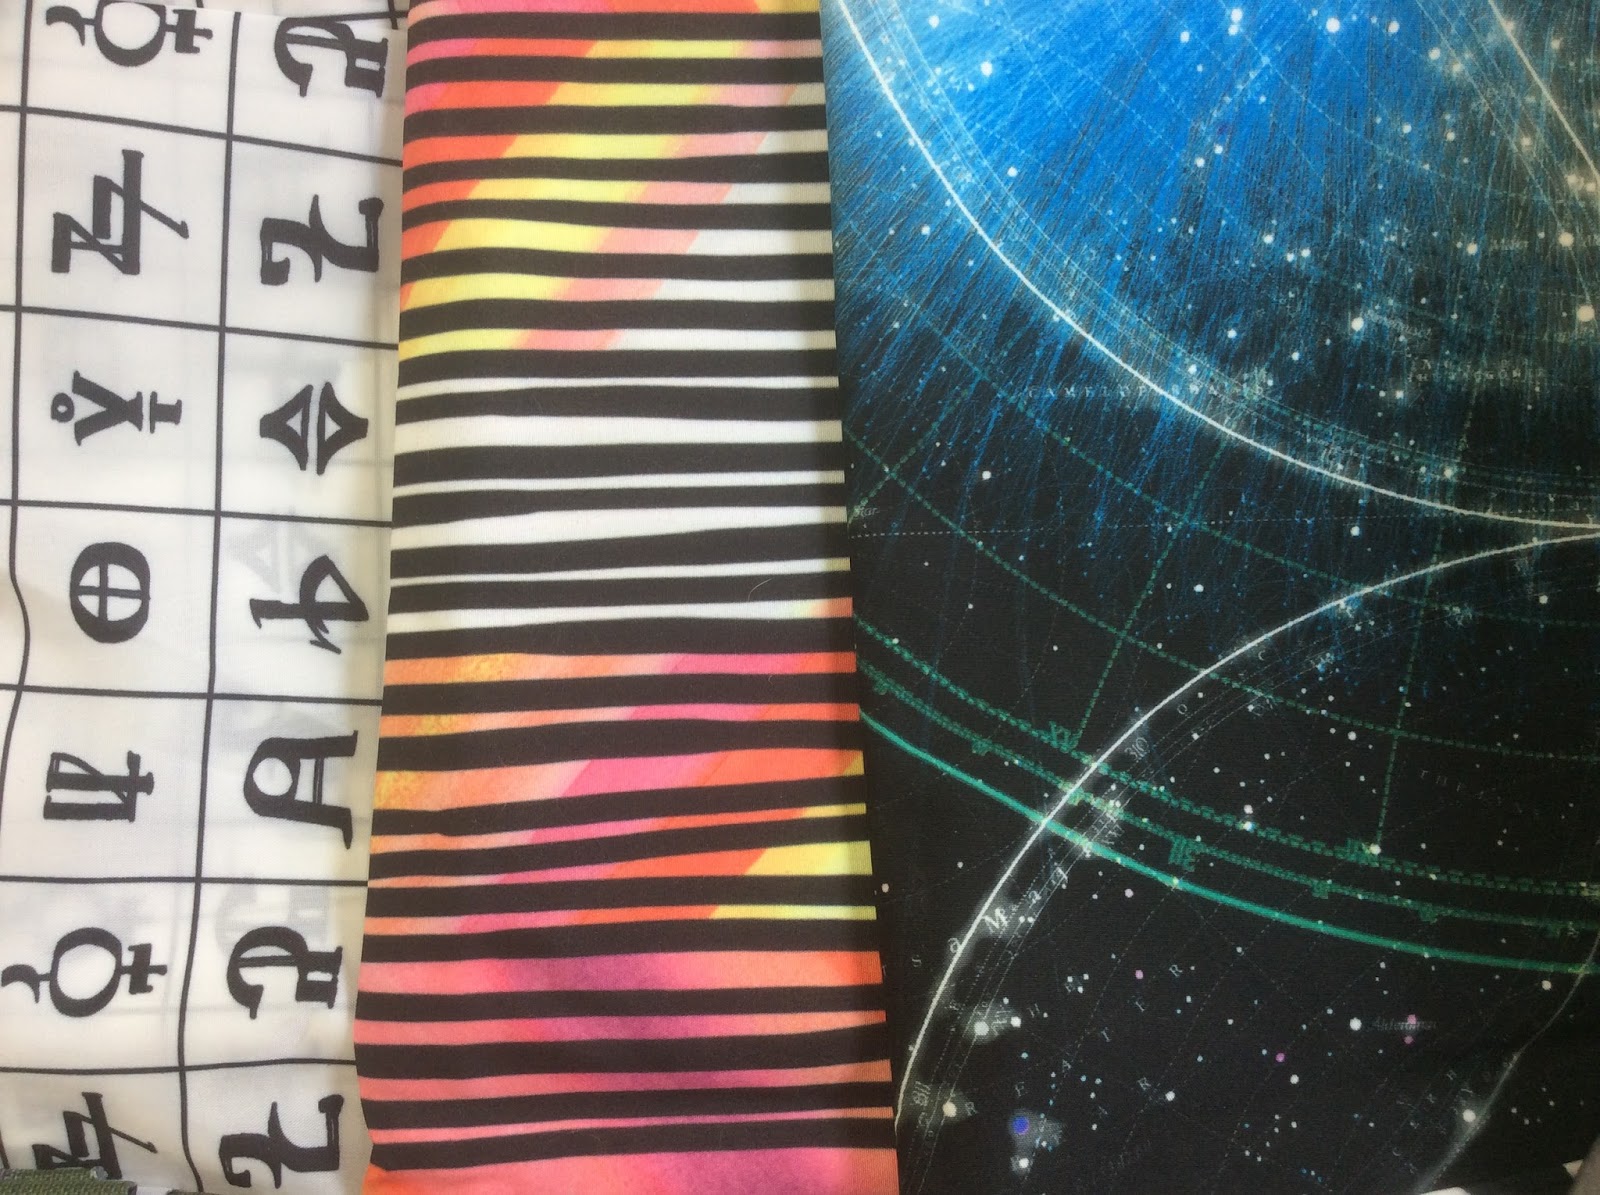
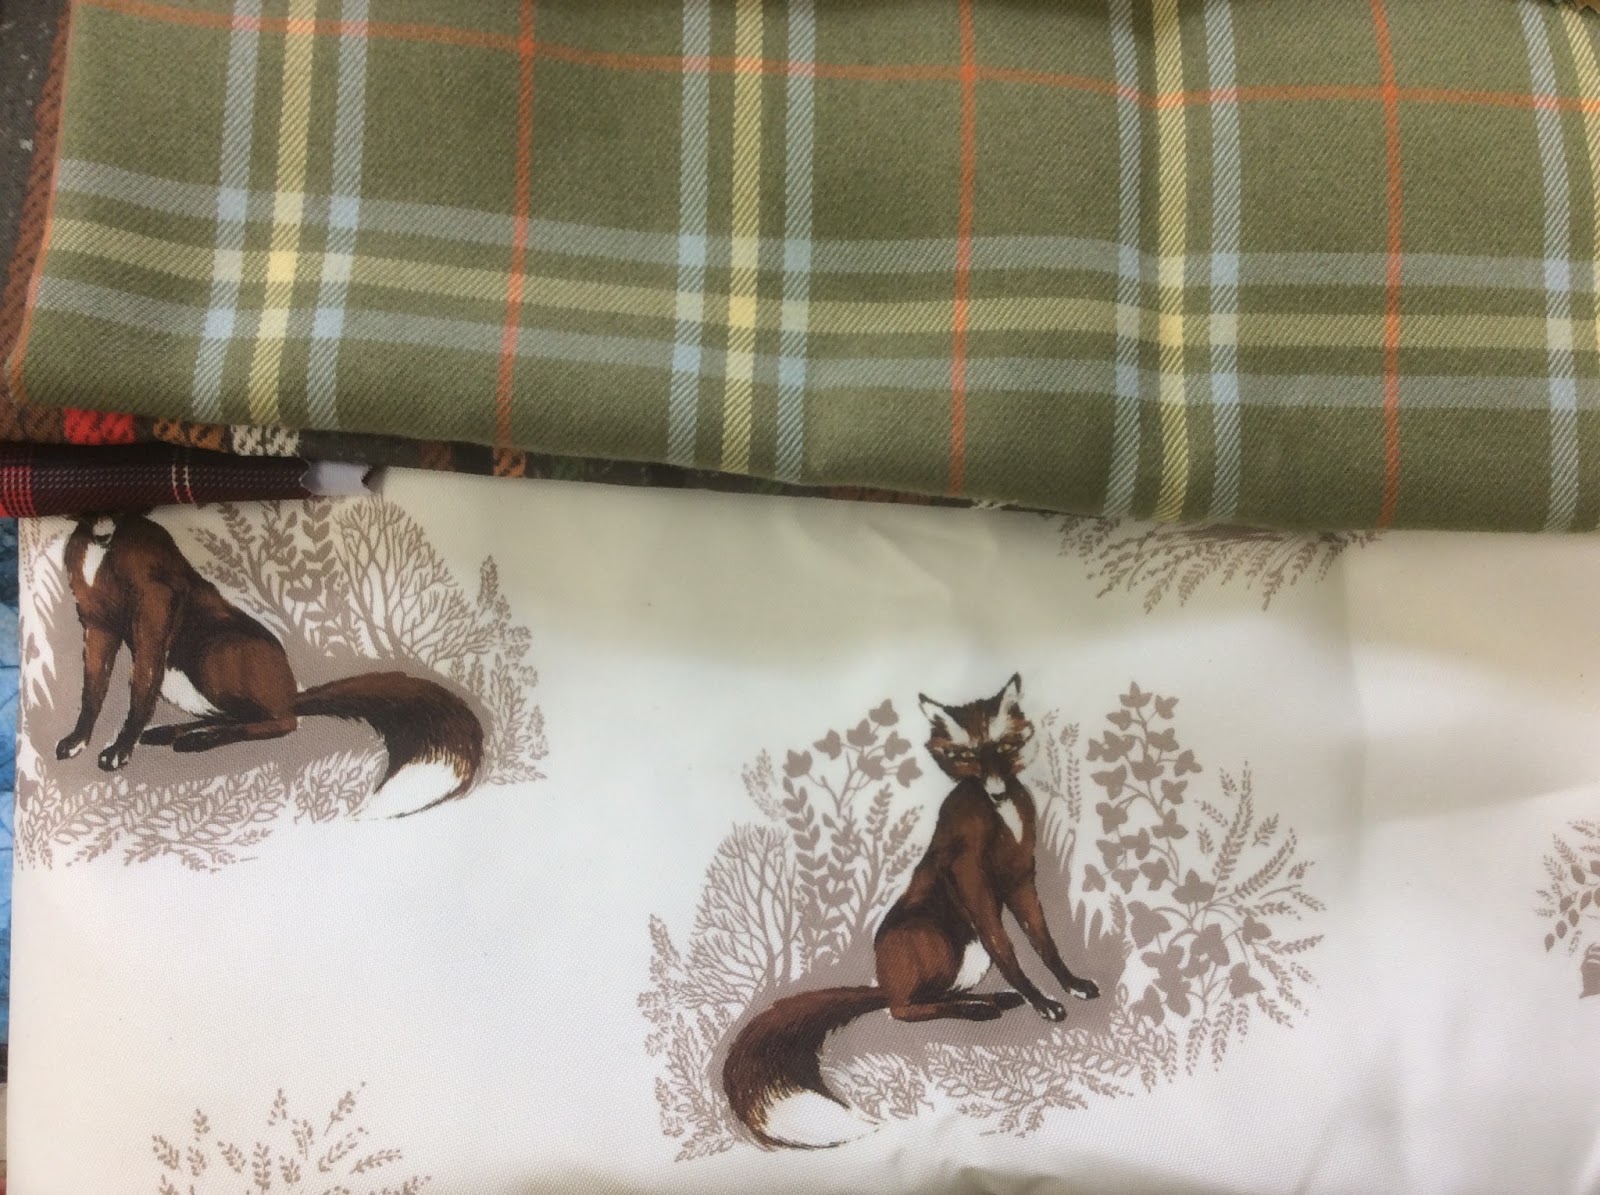
Burton generously gives local art teachers their leftover fabric samples each year. The creative gears are churning in my brain thanks to this amazing fabric donation that just arrived to the art room. Check it out:
Boom. A yard + of each.
This is a picture of part of the donation. What?! So much fabric, in all sorts of textures, materials, and prints. It has been really fun to sort through it all.
What should we make? There are not any sewing machines in the classroom, but I do have lots of hand-sewing supplies. I have some ideas (excited to make some super cool pillows!), but if you have a great idea to share, please do!
The other day a really happy child said the kindest, most genuine thing after her art class:
"Mrs. Elliott, I love the teacher you are being!"
I know what she meant, actually. That class had gone really well. The students loved the lesson, because during it, I make big mistakes, get fussy, ask for their help to calm myself, and have them help me fix my problems. Then I give them tons of positive, all-class, everyone-one-look-over-here-at-this-cool-idea attention when they can solve their own challenges calmly.
In other words, I make a point, a whole lesson, out of being human. Kids love it. Sometimes you get to be the teacher that you want to be, and the teacher your students want. I aspire everyday in education to be a little more human for my students.
The pictures in this post show student work with their stated problems and solutions.
"I didn't mean to make two pink circles next to each other, so I colored them in differently."
I have been making some big changes to my curriculum in grades one and two, and am spending the start of my year focusing on lessons that directly teach and reward flexible thinking and creative problem solving. Because our students are human. They are going to get frustrated, and sometimes will cry or get angry about it.
To do this in a way that is meaningful and fair, I model making a mistake. Sometimes I invite a student to "ruin" my artwork to make this point, but more recently I am surprising my students by making an error and acting very upset by it, making sure that my reaction is totally out of proportion to the size of the problem, so that they are convinced I must be passionately angry/disappointed by my error.
"My black looked really scribbly, so I just did the same thing to a bunch more so it look on purpose."
When I have stamped my feet, look on the verge of tears, and have slightly crumpled my paper, I sheepishly ask my students if my reaction fits the problem. Their big, surprised eyes and shaking heads tell me no. Next, students are asked to suggest what I should do when I feel those big feelings- Take deep breaths, Mrs. Elliott! Count backwards in your head from ten. Take a short walk around the room then come back.
"I don't really like how the pink looks in this circle [top left], but I just took a big breath and decided it wasn't a big deal."
These kids have amazing skills. And they are also human, so they have big feeling sometimes. They know exactly how to help themselves feel calm, but it is hard to do, you know, in the moment. So, I task them with this: If you make a mistake today, and figure out how to solve it, raise your hand, tell me about it, and I will stop the class to celebrate your solution.
"My blue went out the lines in my circle [top center], so I just colored the rest of my paper blue and it looks really good."
Frankly, I am more proud of good solutions to perceived errors than I am of an artwork that went flawlessly and without bumps. If there is one thing that I hope students will get out of art, it's creative thought about solutions to their problems in life.
People love a good show-and-tell, and the appeal doesn't end as you grow up. It's a pleasure to hear from people who have something to show that they love, especially when that something is handmade. Hearing about the process is the best part.
There will be more info available at Open House Night here at EES, but I love encourage families with artistic habits to come share those with their student's class during art. The intention is to be a 10-15 minute show-and-tell of artwork by a hobbyist, professional, or newbie who would like to tell his or her child's class how he or she uses art-making in their lives.
Are you a graphic designer, quilter, painter, or woodworker? Do you make jewelry or knit scarves? Send me an email, I would love to have you do an artist visit to the EES art room. It's a wonderful way for students to see how people carry forward making things with their hands into their adult lives.
Our first visiting artist, Christine Pecsenyicki!
Today in grade four we had our first visiting artist, a painter and mom named Christine Pecsenyicki. She brought in an oil painting that she created based on a photograph she took at Shelburne Farms. Students had lots of questions right away, and noticed many wonderful details.
Look at that frame! Students learned that it is made from old fence posts!
Christine likes to paint animals, and works from photographs that she takes herself. She told students that she worked on it for about two hours each day for two months. The description of how she works in layers really wowed the students, beginning with her farthest back dark tones and gradually building up a lighter surface. The realism of the hay, in particular, fascinated fourth graders.
Starting next week, you can go see a show of her work, including this painting, at April Cornell on the Burlington Waterfront. If you would like to visit your child's art class and share something wonderful that you made, please let me know!
Second
Grade classes are observing International Dot Day in the EES art room, a “global
celebration of creativity, courage, and collaboration” based on the book The Dot by Peter Reynolds.
International Dot Day is TODAY, and every year on
September 15, and is a holiday that honors the creative process in all of its
ups and downs- the fear of mistakes, the flexible thinking, and the daring of simply
trying to make your mark on paper.
Grade 2 dot display!
These
exploratory paper dots are full of our mistakes and fixes- the flexible approach
Second graders will take this year in Art class. Students began by reading the book in art and reflecting on the courage it takes to try something you think will be difficult or stressful. We used coffee filters, watercolors, temperas, dot markers, and water to create these beauties.
Dot dot!
After folding the circles into halves, then quarters, then eighths, the students used their supplies to soak the whole paper with colors. In the event that a color did not travel through all of the layers, we opened the circles, wet them, and continued painting.
The entire second grade made a dot, which are hung in the sunlit walkway that leads to our cafeteria, where they wave in the breeze.
First graders also have been reading The Dot in Art class, and have been making monoprint sketchbook covers inspired by Vashti's paintings in the book.
I know that you must have done this in school- paint on half of a page, close it up, and voila! Symmetry. Instead of the typical "butterfly" paintings, we are focusing on geometric shapes, dots, and lines, and will be using these papers as the cover to the sketchbooks we will bind later this week.
These sketchbooks stay in the art room all year where they are used for free draw time, writing, and sketching plans for projects.
The artists had a terrific time making them, one proclaiming "this is the best day of my life!" It's true, people, art has that effect, especially when you are making art on International Dot Day!
Some of the fabulous finished covers!
So, celebrate! Go loosen your mental constraints and do something boldly creative today. Doodle, snap some photos, bedazzle your tee shirt, buy a pair of Keds and jazz them up with some puffy paint. Don't worry about messing up- have confidence! You'll find a way to make it beautiful!
Come on in to EES and see the artwork! Already, EES artists have been very busy. On the first day of art, each student received a quarter of a circle to decorate in a monochromatic palette, however they wanted. The result is this mural of full circles created by each small artwork, covering a wall so big that I couldn't photograph all of it at once!
Ta-da! The first artwork of the 2015-16 school year.
This artwork highlights what a community can do when everyone works together and contributes a small part. Each small part is so beautiful that it is nice to see some closer up:
Made by students working with only shades of red, these artworks used marker, colored pencil, oil pastel, crayon, and chalk pastel.
To transition the mural from color to color, some artists used analogous colors such as yellow and orange.
The best part was experimenting with all of the different materials, and really experiencing the freedom that comes from so many choices. The chalk pastels, in particular, were a hit- it's always fun to get your hands so colorful right away!
Look at that beautiful hand!
During the second art class, classes in grades 1-5 began creating covers for the sketchbooks they will use this year for free draw time when a project is completed early. We have been bubble painting our covers.
Bubble, bubble...pop!
Artists use a straw to blow into the paint and soap mixture, which foams up until it is high enough to print onto the paper. The results are always varied and gorgeous.
The transparency of the color allows the paints to layer beautifully, and looks luminous.
These covers are used to create our sketchbooks, which some classes have begun to bind.
Interior pages are mostly blank, to allow for an artist to explore his or her own ideas:
The books also include several mandalas students can relax and color:
It's been a wonderful, messy, fast-paced first week. I am so glad to join your school!
Well, hello Edmunds Elementary! What a pleasure and whirlwind to join your school, with all of the jitters and excitement of a new year.
The art room is in the same place post-construction, but it looks totally different inside! Initially, when I got in on Thursday, this was the art room.
Not gorgeous yet, but look at those shiny floors!
And this is how my office looked...
Um, how do I get in?
Yipes. Well, fortunately the Property Services department in Burlington School District hires actual superheroes, who came in and moved things around for me, like this:
Because, those tables that take three people to move? No big deal...
They even have costumes (well, uniforms!) so if you see someone in that steely blue shirt, please say thank you, they magically turned a construction site into a school in a matter of days. Magic, I tell you.
With their help, and a lot of time over the last few days, (time is the greatest challenge, there never seems to be enough- enough
to prepare, enough to plan, enough for the kids to complete their tasks. The hours, classes,
days, weeks, and years in elementary school seem to fly by) the EES art room looks like this now:
Please feel free to pop in sometime and introduce yourself, I look forward to meeting your family!
This week my love of art meshes fully with my maker self as I teach eight little lovelies to make simple circuit art objects. We started off the week by posing the question, what does a robot look like?
Paintings on foam core!
Artists rendered all kinds of robots from cute to threatening, and wired up a simple circuit with two LEDs, two button cell batteries, and three pieces of wire.
So proud of his work!
This lesson comes from the inspiring and awesome blog of Tricia Fuglestad, an force of innovation in art teaching. Previously, my students have had bad luck with copper tape- it rips easily, the edges are sharp, and the sticky side isn't always very conductive, so instead we used regular project wire.
A roomful of robots!
The artists had a broad choice of special little LEDs, which meant that while some chose solid color, other LEDs blinked red or slowly shifted through the color spectrum. I taught the kiddos to solder the connections in their circuit so that they would be super solid and nothing could wiggle loose.
No joke- a soldering iron is dangerous. I reteach it again and again, every day that it's in use.
Next we added motors to the simple circuits, which the students used to create jittering bots that drew, bashed into each other (see the robot battles in the video below), or just blew some cool air at the maker.
These bots brought out their competitive spirit, and they sounded like sportscasters calling the matches to see whose bot would fall down first.
They gave each other "prizes" in different categories. One in particular was rigged up be really loud (specifically designed by the maker with the idea of irritating his brother), so that one received the dubious honor of "Most Annoying."
Far and away the "Most Adorable and Sparkly"
Some of the bots looked rather spidery... or maybe more like a millipede!
These kiddos did not want to go out to snack. Or to leave after class. Which is not surprising, since kids will even come in on their evening free time to be makers. They were completely absorbed, and each afternoon waved goodbye to their creations until the next morning.
Once students had a good handle on turning a motor on, I let them loose to build whatever they envisioned, but several had specific things they wanted to learn, especially how to use a motor to turn wheels.
Underside of my car
So, we are building things with wheels. It's pretty simple if you think about it like a car, so that's the example I used. We took foamcore sheets and utility knives to cut out rectangles for the car bodies, little triangles with holes to support the axles, and a rubber band to connect the axle to the motor. These could be powered by either a 9V battery or a set of 4AA batteries.
Top of my car
Pretty blank, I know. Think about it like a car chassis. You could put anything at all on top of it to make a zooming robot or a tiny parade float.
It's quite speedy too, and we have to generally run to catch them outside. Here's my little lowdown on making one:
We strapped a little bear on our, which my younger thought was hilarious, but try it with just about anything you can make out of cardboard or other sculpture materials to create different types of cars.
Off I go, headed to try my prototype going off the little ramp (made from a block and a book) my little guy just built- hope that bear's seatbelt is on tight!