Thursday, June 14, 2018

Stefan Bucher Ink Monsters!


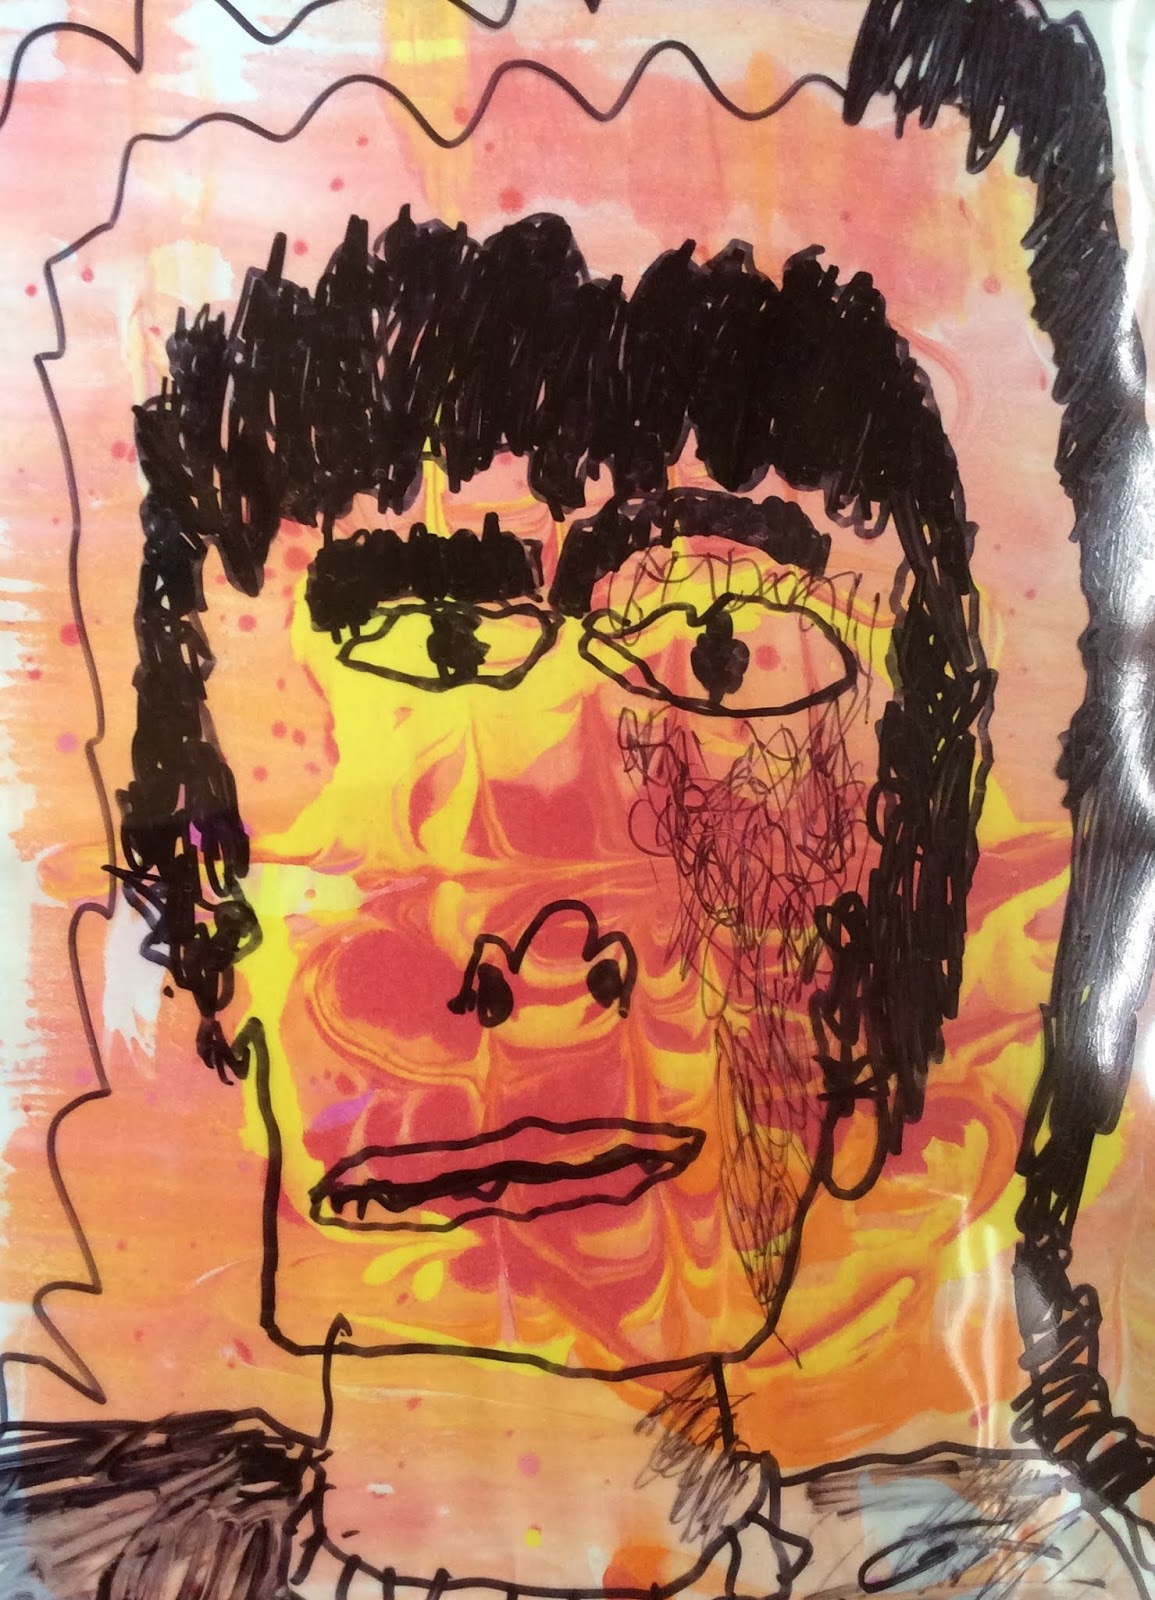
Grade 5 ink monster!

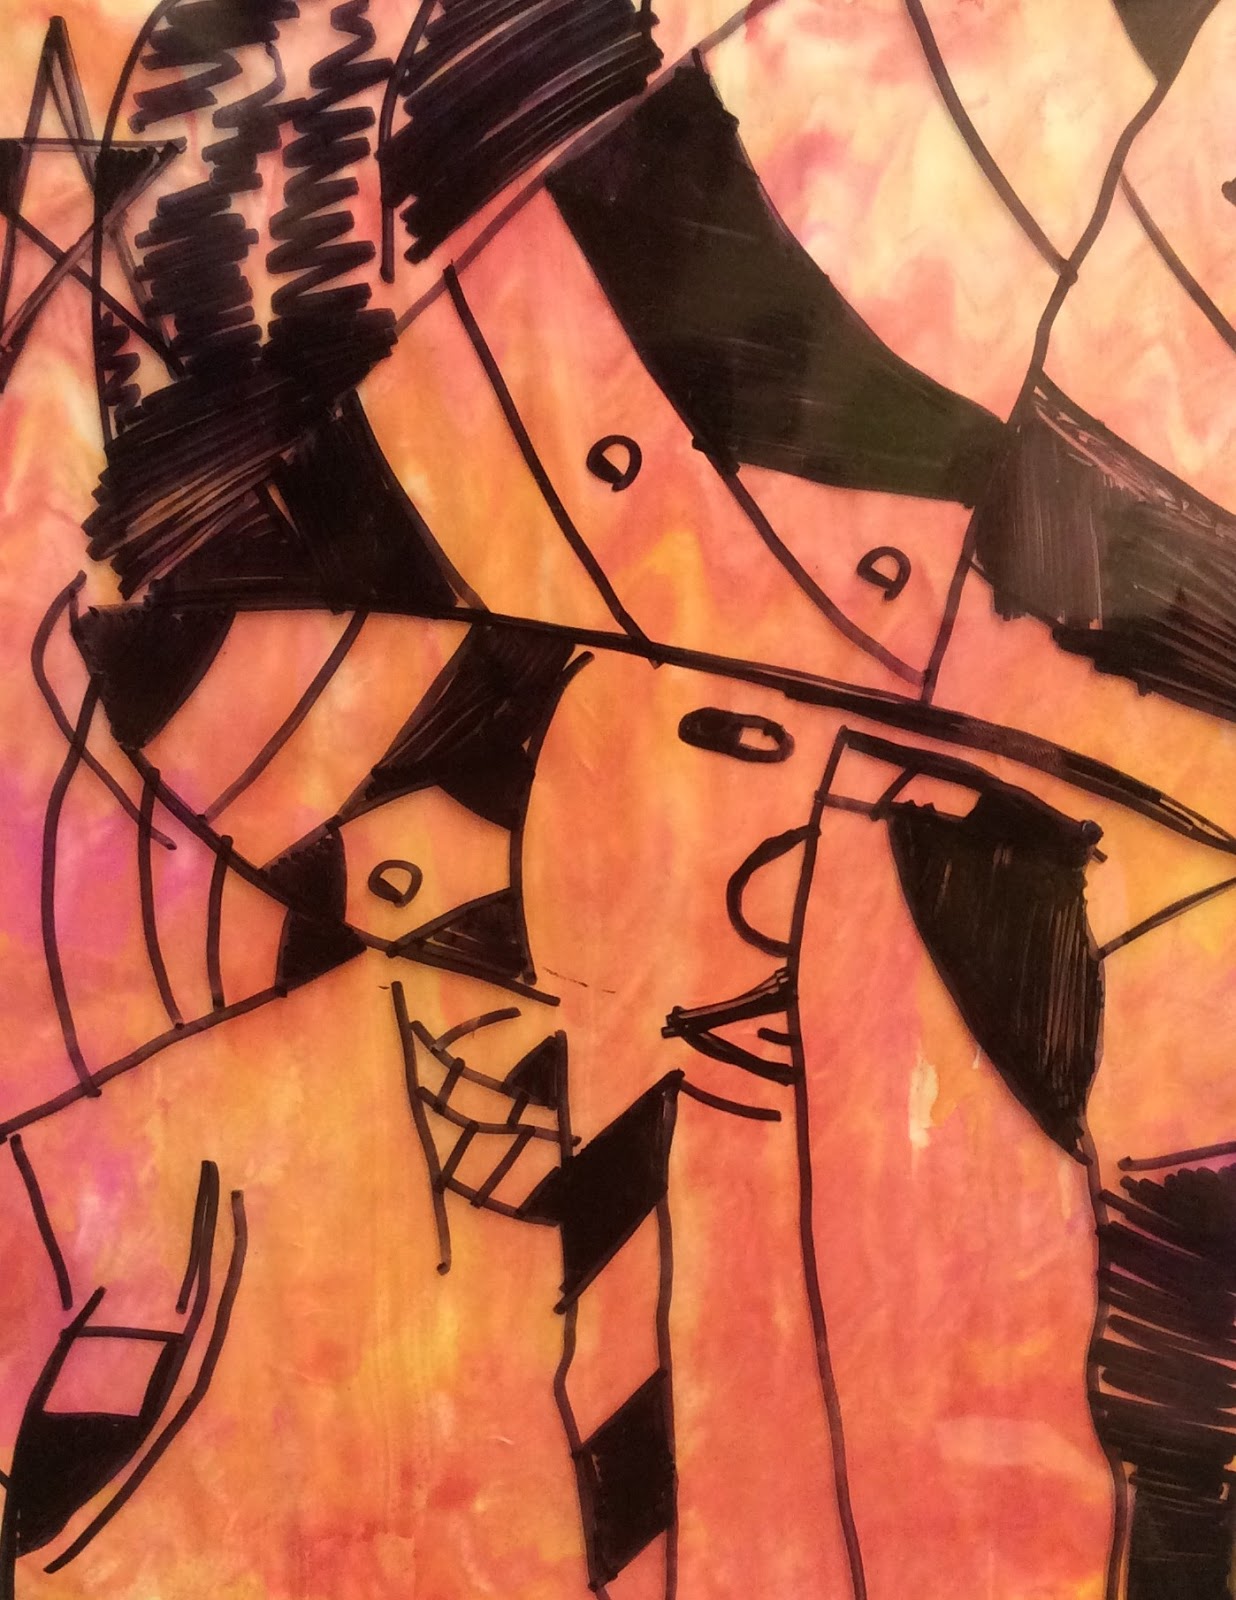
If you haven't yet seen the fantastical ink blot monsters and videos of artist and illustrator Stefan Bucher, you are in store for a wonderful treat! While the approach isn't new- turning a random mark into a thoughtful outcome- the work of Mr. Bucher is fresh and relatable for students.

A crew of artist Stefan Bucher's ink blot monsters.  © Stefan Bucher.
Stefan Bucher is the wacky, creative mastermind of The Daily Monster, and is a designer, writer, and artist living in California. His process is a pleasure to watch, and made for an inspirational starting point to our own creative work. 
 © Stefan Bucher
This year, I have made several instructional videos for days that when there is a guest teacher in the art room. (Fellow art teachers, feel free to use this one I made for our inkblot project! And leave your tables covered in butcher paper so avoid having to scrub the ink or liquid watercolor off afterwards.) The students loved this lesson and were totally engaged the whole time.

Bird monster in progress
We began with watching two of Stefan's monster videos. Here is the first one:


What strikes me the most is the thoughtful line of questioning he poses to his viewer. This line of questioning (e.g. "What noise does it make?") helps students go beyond the simple ink blot to create a creature's details and even an environment. 

Here is the second video students watched:


It felt important to show two ink blots so that students could see the varied places from which artists draw inspiration. In the first video, Stefan Bucher was inspired by the observations of his viewers, and in the second, he was inspired by an exhibit he visited. Inspiration can come from anywhere! Aspects of his approach and process varies as well.

Second grade ink blot monster!
This project has been a great way to end the year, and can also be formatted as a station for choice-based art.
Fourth grade monster

Several students loved this art-making approach so much that they requested doing it a second day. That was perfect for a mellow, student-driven option to add to the last art class!

Later, I discovered that Stefan Bucher has generously shared his own process here, and there's a lot to love about that! The can of compressed air is a game changer. I look forward to sharing it with students next school year. 

A closing quote from Mr. Bucher: "The process of drawing for me has always been a process of failing, where I have an image in my head, and then, as I put it on paper, the shortcomings of my hands become apparent. The monsters are a way of reversing that process, because I don't know what it's going to look like. I don't go into it like 'it's gonna be this character, it's gonna be this thing'... the whole thing is a process of discovery."


Tuesday, June 5, 2018

Cupcakes and Oil Pastel Tie-Dye


After many years of experimentation, I have discovered that the best way to leave a class with a guest teacher is to create video substitute plans. Students are happier, the guest teacher is happier, and the work created is stronger. One lesson students loved this year was oil pastel "tie-dye," a lesson in which erasers are pushed and pulled through concentric shapes drawn in oil pastel. The results looks quite similar to a tie-dye fabric effect.

Oil pastel "tie-dye"
I share the substitute lessons that I make with other teachers in an online forum. Sharing good ideas is a practice I love, as everyone stands to gain from it. One teacher who recently used my oil pastel tie-dye lesson wrote to me and included a photo of this awesome twist; a student of hers had drawn anthropomorphic cupcakes and collaged it to her oil pastel. EES students loved that idea, and so we borrowed right back!

 Our desserts use light direction to add strong shadows on and under the cupcakes, and include tons of delicious detail work. Students were encouraged to use bold colors, patterns, shading, and varying line types with thin and thick markers and colored pencils.


The wonderful thing about this online collaboration is now the tie-dyes all look like stages! A wonderful and perfect setting for future pop art, self-portraits, and more.


Marbled Paper Self-Portraits

Students completed this project a while ago, but the work is too amazing not to share it here!


Students began this project by thinking about dynamic compositions.  One way students can easily relate to the concept of composition is by asking them to pose like they would for their annual school photo in the fall. Students immediately know that they should sit up straight, look at the viewer, smile. Asked how much of their body would be seen in such a photo, students knew right away that the camera would frame them from torso or shoulders up only.  
 
Most schools use this composition, or one quite similar!
Due to that tradition, when students are asked to draw self-portraits, they often immediately go to that composition. It feels safe. This project asked them to consider other compositional formats as well. Students began with at least three small sketches of ways they could compose a self-portrait. Here is an example from a student's sketchbook:


Next, we tied in mood as an element of composition in self-portraiture tradition. As the subject of the image, do you want to avoid the viewer's gaze and look somewhere else? What feeling does it give the viewer to see you looking at your shoes, or off into a corner?  When we only see half a somber face, what does that mean the subject might be doing or feeling? What if we see half of a grinning face? 


In addition to mood created by composition, we created a color mood with marbled paper. Using various combinations of warm and cool colors to evoke a feeling, students experimented with designing artful swirls and dots. The choices in color, and its location and intensity, all give form to creating a strong feeling in the work.


This marbled paper was the bottom layer, on top of which students made a drawing on transparency in black marker, allowing the marbled paper to show through. The marbling was lots of fun; we used the shaving cream + liquid watercolors approach, which produced vibrant results. The results of this project yielded a great variety!


It freed up lots of young artists to have alternatives. There is nothing wrong with tradition, however, and even after making many sketches some students decided that a traditional head-and-shoulders portrait was what looked best. Here are several more to enjoy.