Inside Burlington's Edmund's Elementary School Art Room, Burlington City Art's Summer programming, as well as formerly Richmond Elementary School's Art Room and Flynn Elementary's Project Explore Program.
Have you ever asked a group of kids what printing is?
Well, given where we are technologically in this world, this is a pretty good answer, actually. It would be pretty weird and surprising if kids started shouting out terms like "linocut" or "lithography," because this isn't a hundred years ago. All of the above, however, fit into the same category- images that can be reproduced multiple times. All of those prints can be nearly identical, or they can change in positioning and colors.
Squids
When you dig into it, though, printing is basically this:
Splat!
Distilling printmaking down to a handprint is really useful for my students. It helps them understand that anything, really, can be printed, whether it is a leaf or a string or a potato.
Suddenly, (and sadly, just as they are outgrowing being my students) my fifth graders really, really get it. And they are loving printmaking so much that they are begging to stay in at recess to do more. (Disclaimer: I cave easily at this. Who wouldn't indulge kids who want more art in their free time?!)
This print post needs a shout out and a thank you to Mr. Stoller at Thomas Elementary Art for the amazing lesson idea. This is truly the best styrofoam printmaking lesson that I have ever done with elementary kids, and are definitely on a level to compete head-to-head with carved linoleum or vinyl works (and minus all of the hand-stabbing that comes from sharp cutting tools.)
These sweet prints began with drawings that the kids made. We discussed portraiture and focused on the head and shoulders of a favorite animal. Students were encouraged to both draw from their imaginations and also use visual resources such as animal encyclopedias.
Pulling a print. Magic!
After students drew their animals, they printed the outline in a warm color on two papers. We talk about outline basically being the same thing as perimeter, which helps kids grasp what I am asking for. Another way to show outline is to ask kids to think about cookie cutters.
Next, students added details to their animals, and cut away the background styrofoam. The animal was printed in a cool color, right on top if the first prints, as you see above. Here are a few examples of what they looked like at that stage:
Yup, the work looked amazing at this point, but it is the final highlight color that really brought the "wow" effect. Students cut out a part of the animal that they wanted to print in a third color layer, and rolled ink onto it separately from the other pieces, and printed it a final time.
Because putting lots of brains together on an idea yields better results than thinking solo, students proposed that their prints have different highlighted areas on different prints. I loved this idea, and it helped really bring to life the prints as diptychs, like the elephants near the top of this post, and these puffins, below.
Elephants, you might have noticed by now, were a popular theme:
Here, the artist highlighted the spikes in both images, but the change in color is lovely:
Finally, we discussed the format printers (the humans kind, not the machine kind) use to label their artwork. At the left of each print, artists wrote their series number (print number out of the total, such as the first of two in the edition, written as "1/2"). In the center, artists added a title, and on the right hand side, the work was signed.
These young artists took it very seriously, and felt quite professional when they finished matting their prints on black paper.
You can buy art styrofoam designed for this use, or you can just save a tray from the grocery store, and make your own by cutting off curved sides and using the flat bottom. Try out some printing magic soon!
Most people probably don't think of the art room as a hot spot to teach science. That's a shame, since it can be easily integrated to most everything happening in here. Kindergarten artists spent time learning about the parts of plants in art, using photographs, paintings, and real flowers to examine.
After being able to identify plant parts such as leaves, stems, petals, and seeds, we also discussed how to tell where in its life cycle a plant is. Does it have a bud, a big healthy bloom, or is it losing petals and drooping? Kindergarten artists can tell you what all of those signs mean for the plant. They also used that information to paint their own still-life of flowers. Students can also tell you about the job each plant part has- collecting sunlight, absorbing water, attracting pollinators, and so on.
One of the other ways that we used science in this project was experimenting with color. All of the students had access only to the primary colors in this project, and worked with a partner to discuss the colors they observed in each plant part, and tried out mixing their primaries to achieve a color match. As with any scientists, it took many of them a few tries.
Students used their knowledge to create works that had plants at varying parts of the life cycle. In the picture below, lots of petals have fallen and landed on the table. The upright, strong stems are fresher, and have more petals.
Students also learned to overlap their shapes to make it appear that their vase is truly sitting on the table, not floating above it.
Artists discussed different textile patterns that they could include for their table as well.
Our art process began in pencil with the vase and table, and then added the centers of the flowers (they noticed a lot of flowers have circular centers) with a handful of circles in varying sizes. On that same day, students mixed watered down paints to create the pale backgrounds, painting around the vase, table, and circles.
On the next day, artists mixed tempera paints to match each of the plant parts, beginning with the stems and leaves. After that, they used the color wheel to help mix browns for the seeds, and added the petals. Once the flowers were completed, students painted the vase and table.
The science of plants! The mixing of the colors! These Kindergarten paintings are framers.
Did you get your copy of the Hometown section of the Burlington Free Press this week?
Boom!
Check out all that gorgeous student artwork. EES nabbed the cover and three inside pages filled with photos from the art show and concert. Congrats to our amazing young artists and musicians for their excellent work at Arts Night!
In what kids would probably say is the most excellent art lesson I have ever taught, kids could be found doing this all down my school hallway:
For real. We got a lot of dropped jaw stares.
Sometimes life throws nifty ideas your way, they roll around in your head, mash up with other information, and come out awesome.
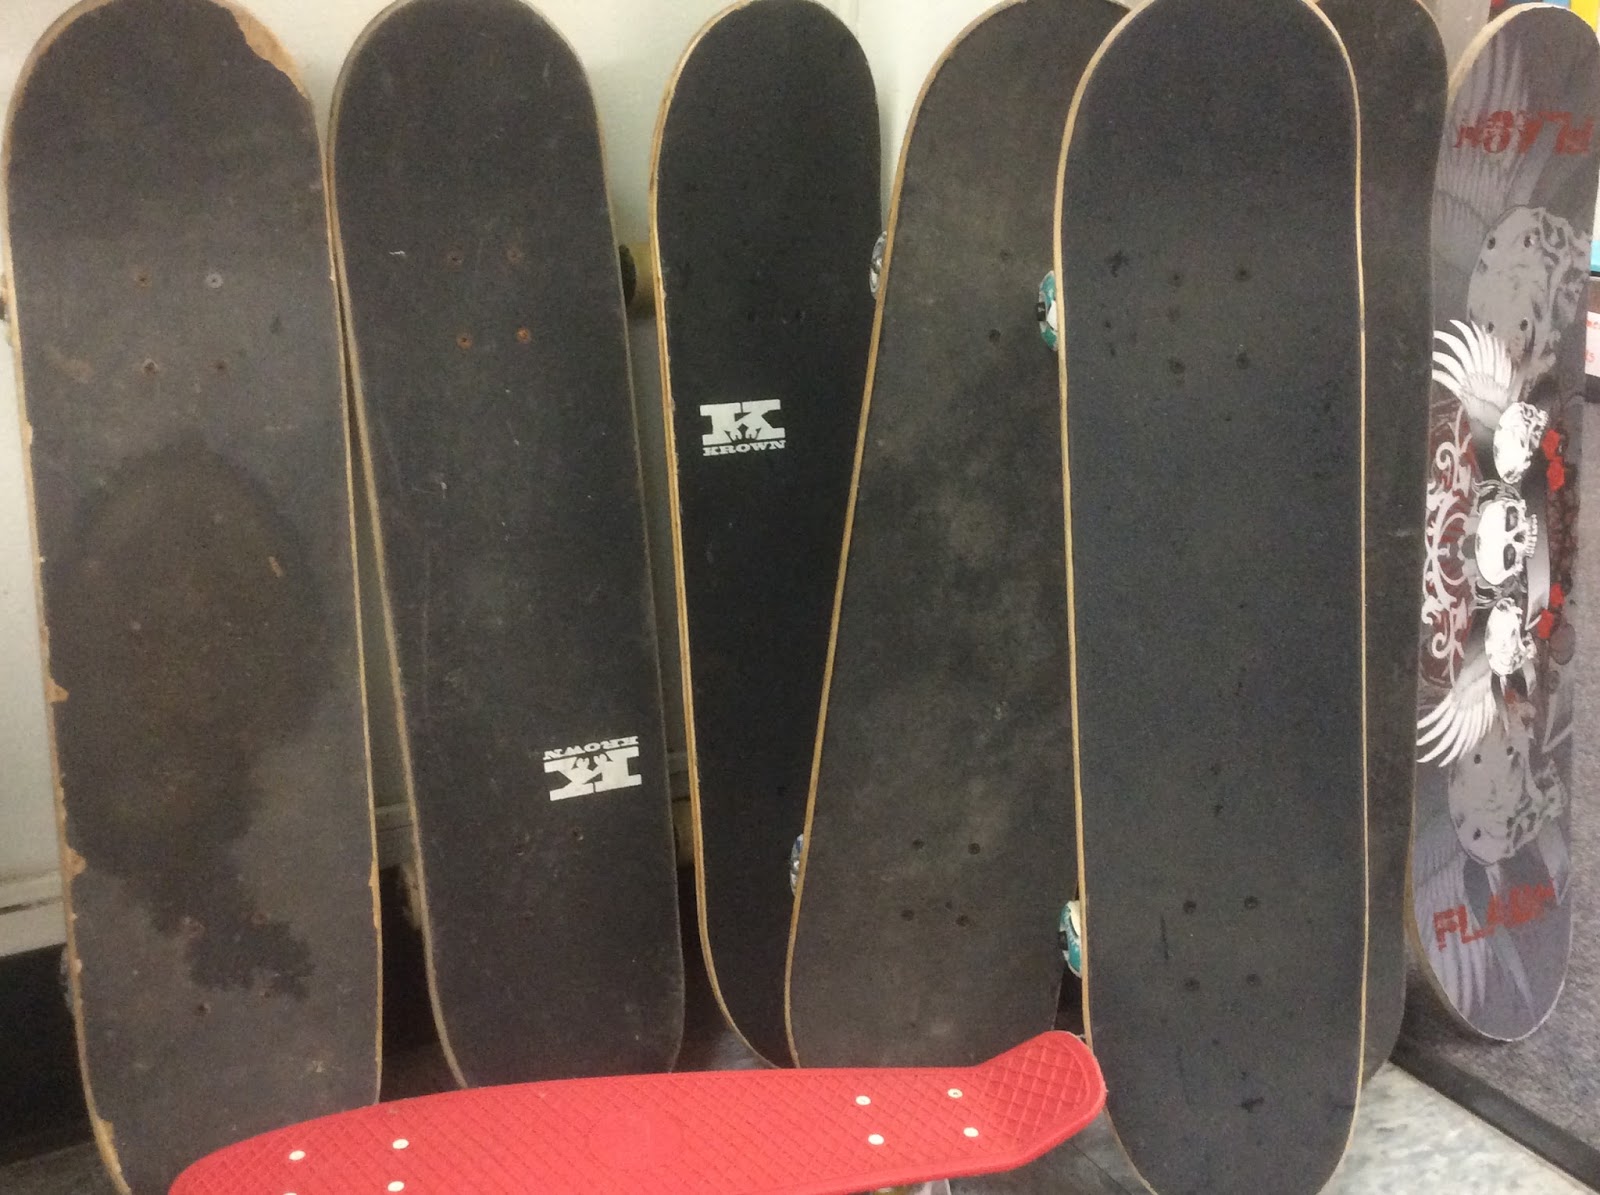
One of my goals as an educator is joy. The joy in riding a skateboard on your tummy around your school hallway, pushed and pulled by a friend of your own choosing, is, well, both obvious and enormous. And creates amazing sound effects:
Another goal of mine is getting students to draw with their nondominant hand. The thing is, kids tell me that they don't like to draw with their nondominant hand, because it "never looks as good." The solution, I decided, is to get kids to draw bilaterally.
Enter stage left, Heather Hansen- contemporary artist, dancer, queen of bilateral drawing:
Heather Hansen at work. Image via thisiscolossal.com
Enter stage right, Tony Orrico- contemporary artist, dancer, human spirograph:
Tony Orrico at work. Image via tonyorrico.com
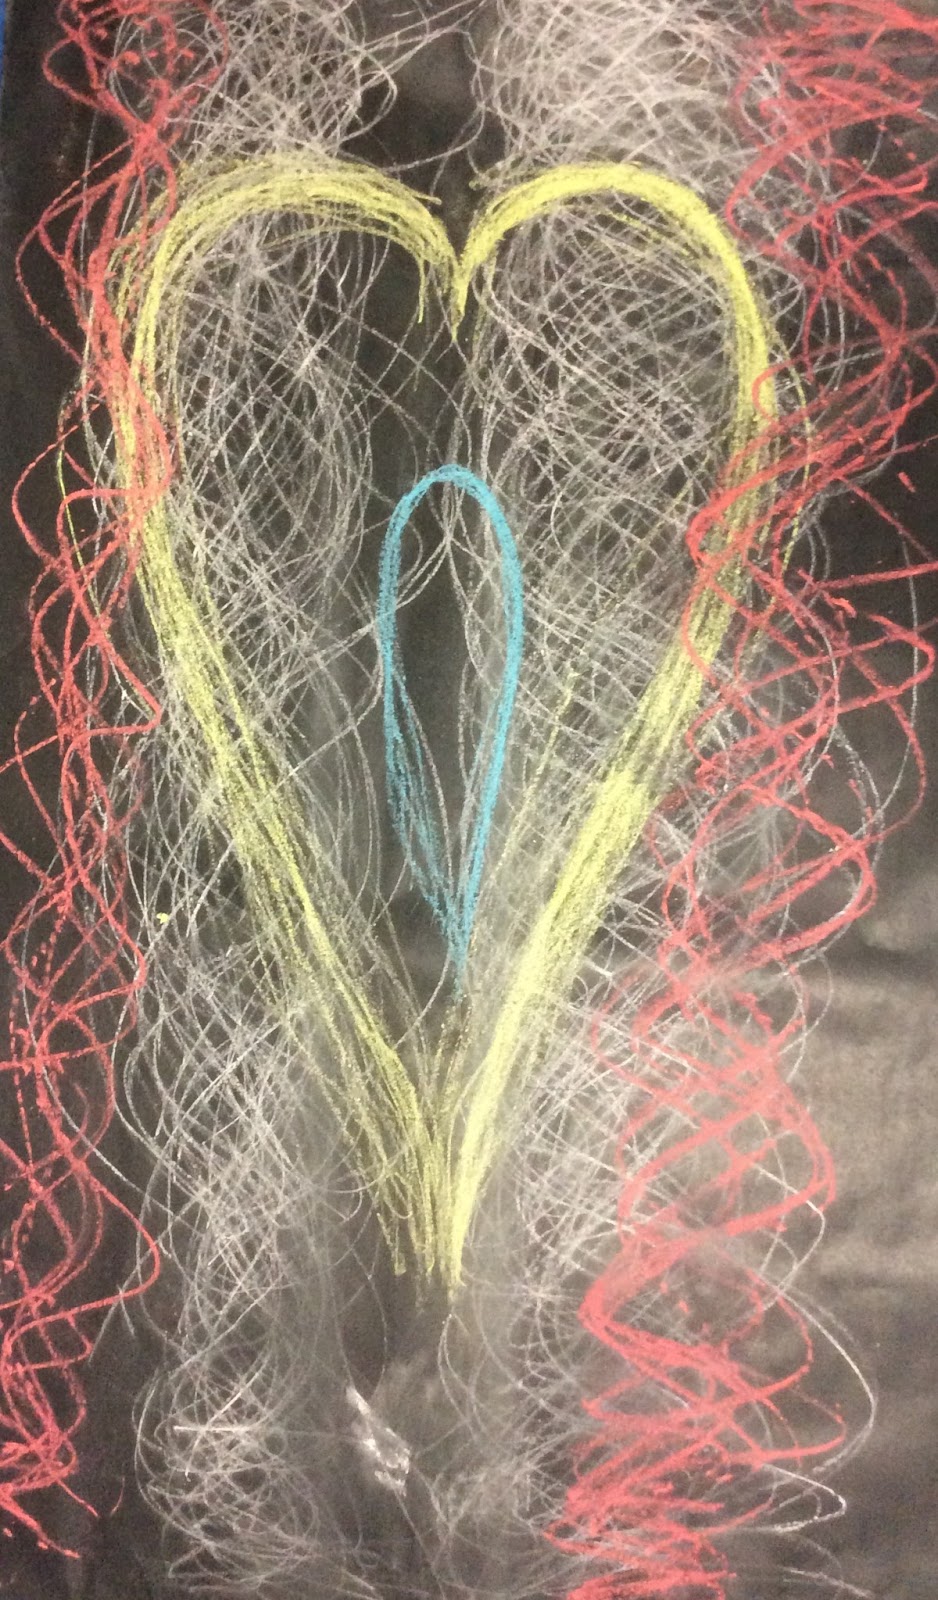
To get my students to draw bilaterally, I know that it needs to start big. Whole body movement, preferably. So we began with some yoga, and students took turns creating bilaterally symmetrical arm movements for the class to copy. After extensive talk about how students thought these artist might make their work, we watched some video footage of Tony performing:
Drawing with your nondominant hand has all kinds of benefits, as does large, gross motor-style drawing. Doing it bilaterally, and in a way that was fun and silly, evaporated any potential anxiety about how it would look in the end. A friend shared this on Facebook a while back, and I was already hooked on the idea of figuring out how to include skateboards in my curriculum. The concept rolled around in my head for a while until I realized that this project, and these contemporary artists, were the answer.
This lesson gives tons of space to talk about lots of important art concepts. Symmetry (bilateral symmetry here, like a butterfly), contrast (dark paper works well with light colors, and vice-versa), movement ("action" in art comes up here, like in Jackson Pollock, where the movement is evident in the end work), and material choice (we used chalk and charcoal, but really any drawing and painting implements would work. Dot-a-dot markers might be awesome! Next time it will be great to have the kids choose.) Group work was part of it, too. Partners took turns drawing on the same piece of paper.
Each student chose a movement, and repeated it for a few minutes while their partner shuttled them forward and back. Then, the partners switched for a new color and new movement. This is a process lesson, so the product is quite secondary, and yet, the results are quite stunning.
The papers are very large, and conveniently we have lots of blank space on the walls of our long hallways.
Although I did this lesson with my fifth graders, I have confidence that all of my students across grades K-5 could do it successfully.
It was a great confidence-building activity, too, and it's not a lesson that a single person worried that they had gotten "wrong," even my hesitant artists.
Want to try it in your classroom? Here are few tips: Collect skateboards for a couple weeks beforehand- kids forget them, even with notes in their backpacks. Have tons of smocks on hand. Pre-cut your roll paper to reasonable lengths to save kids' time. Make sure that you have two each of whatever media you want to offer, one for each hand (two red markers, two aqua chalks, two black charcoal sticks, etc.)
You know art class is about to get awesome when you walk in, only to see...
Want to try it outside in the sunshine? Skip the paper, add traffic cones, and do a temporary art installation on your playground blacktop, driveway, or sidewalk with sturdy bright chalks. It'll stay until it rains. Video and photograph it, and make a little movie of the experience to share at your art night.
This is a sharing lesson. As in, one that I feel I really, really need to share with all the art teachers I know. And the parents, caretakers, and camp counselors. Try it out! The world, and schools, will be better places the more kids experience joyful, anxiety-free, movement-based learning experiences.
One of my New American students: Mrs. Elliott, what was that guy's name again?
Me: Who, Tony Orrico, the artist we looked at?
Student: Yes, him. I am Tony Orrico, Mrs. Elliott. [hits chest.] That's me. And this is really your job? I would like to be an art teacher someday. I can't believe this is your job. And I am Tony Orrico.
On April 7, Edmunds Elementary School hosted its annual Fine Arts Night for grades 3 through 5 students. Fine Arts Night is unique in Burlington School District to Edmunds Elementary, and celebrates both the artistic and musical achievements of the whole student body.
Lots of families and loved ones came to support our artful students!
Over 500 artworks were on display, including abstract paintings,
5th grade abstract paintings
recycled paper journals,
still-life pastels,
Pastel fruit and vegetable still-lifes
origami relief paper sculptures,
Radial symmetry in origami relief
amazing self-portraits, and sumi-e ink paintings accompanied by haiku poetry.
3rd grade portraits
Fourth graders loved the opportunity to use a drill, saw, and other woodworking tools to build creative kinetic sculptures in a challenging medium.
Music teacher Betsy Nolan conducted EES music students in amazing performances of both classic folk and modern pop songs. Students provided all of the instrumental accompaniment to the singing on xylophones, ukuleles, recorders, and various additional percussive instruments. You can also visit her music page if you missed the show, and you can watch the whole thing!
Grade 4 music students
Performance and show of work are curriculum standards across both music and visual art, and students did an outstanding job meeting those learning goals. Listen to the grade three students play Sweet Chariot! Betsy is a marvel!
The evening ended with nearly 150 grade 3 though 5 students performing a joyful rendition of Uptown Funk to raucous applause!
Bringing the Funk.
For real. The students are not doing karaoke here, they play all the instrumentals. Watch this!
Thank you to our supportive families and friends, and to all the amazing, artful students!